
2.2 Shape Tools
Place Image (Shift-Command-K)

It may not be obvious what images have to do with the Shape Tools menu until we see how they are implemented in Figma. Both vector and raster images can be placed, but they work differently.
Vector images placed from SVG become a new frame with fully editable vector shapes. If you’re into web development, there is a neat trick for copying SVG from an editor or a web page straight to Figma. In an editor or a browser’s Inspector, select an SVG code and copy it to the clipboard. Now it can be pasted straight to Figma without saving to a file.
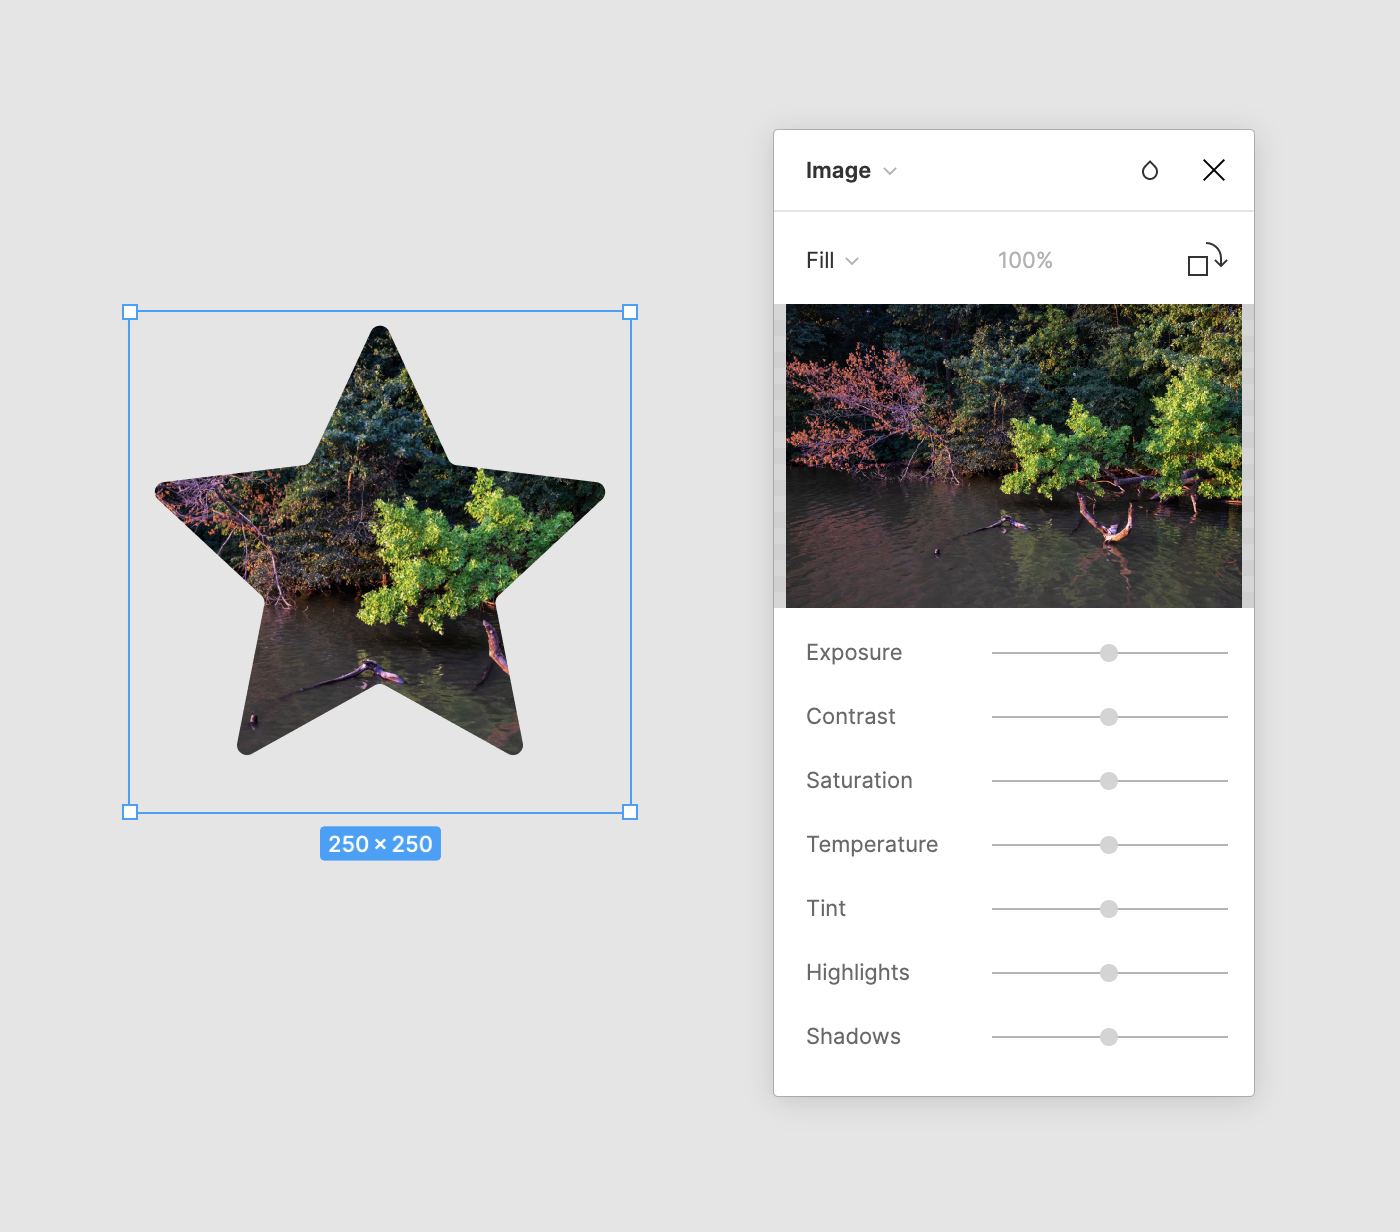
Raster images (PNG, JPEG, GIF, TIFF, and WEBP) are supported as one of the types of the shape’s Fill. When you place a raster image, a rectangle shape matching the image’s original size is created, and the image is applied as its Image Fill. This implementation provides the flexibility of dragging an image file on top of any shape’s Fill section to create a custom-shaped illustration. That explains why Place Image is part of the Shape Tools menu.
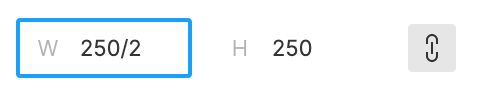
One common problem is that by default, raster images are placed in their non-retina size. This is easy to fix thanks to Figma’s smart input fields. Make sure that Constrain Properties is enabled and use width or height field as a calculator. For example, if the original width was 250, change it to 250/2 and press Return. Both properties will recalculate automatically. Alternatively, you can enter 50% or any other percentage value. Other math operations are supported as well, so experiment with them!
If you need less precision, scrubbing a numeric field can be worth trying. Try hovering over a field label until the cursor changes to an arrow, then click and move it to increase or decrease the value.
What is Corner Smoothing?
Back in 2013, Apple released iOS 7, where square app icons with rounded corners were replaced with squircles. To an untrained eye, they may look the same, but squircles have a much smoother curvature, like if a regular rounded corner was finished with sandpaper to smooth over the part where the rounding begins. The shape looks more natural, resembling a river pebble or a half-used bar of soap. Unsurprisingly, they are pretty common in industrial designers — just look at smooth corners of a MacBook or an iPhone.

Figma wanted to meet the needs of designers looking to use squircles in their projects. They couldn’t just smooth over all rounded corners, as that would make any implementation on the web using border-radius CSS property look too different from a design mockup. Instead, they added a Corner Smoothing slider that softly changes curvature from a regular rounded corner to squircles, with a special mark at 60% that closely matches iOS style.
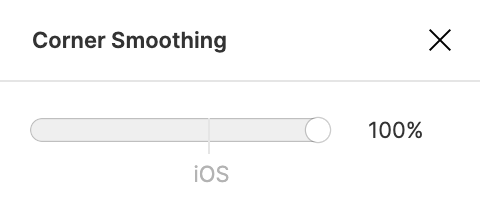
Generally speaking, it’s better not to use Corner Smoothing for web projects at all, set it to iOS mark for projects designed for that platform, and use maximum smoothing in illustrations and icons that will be exported as an image. If you want to learn more about squircles, check out Figma’s very detailed and math-heavy blog post Desperately Seeking Squircles.
